Create Your Own Unique Side Table with Personal Touches

Create Your Own Unique Side Table with Personal Touches
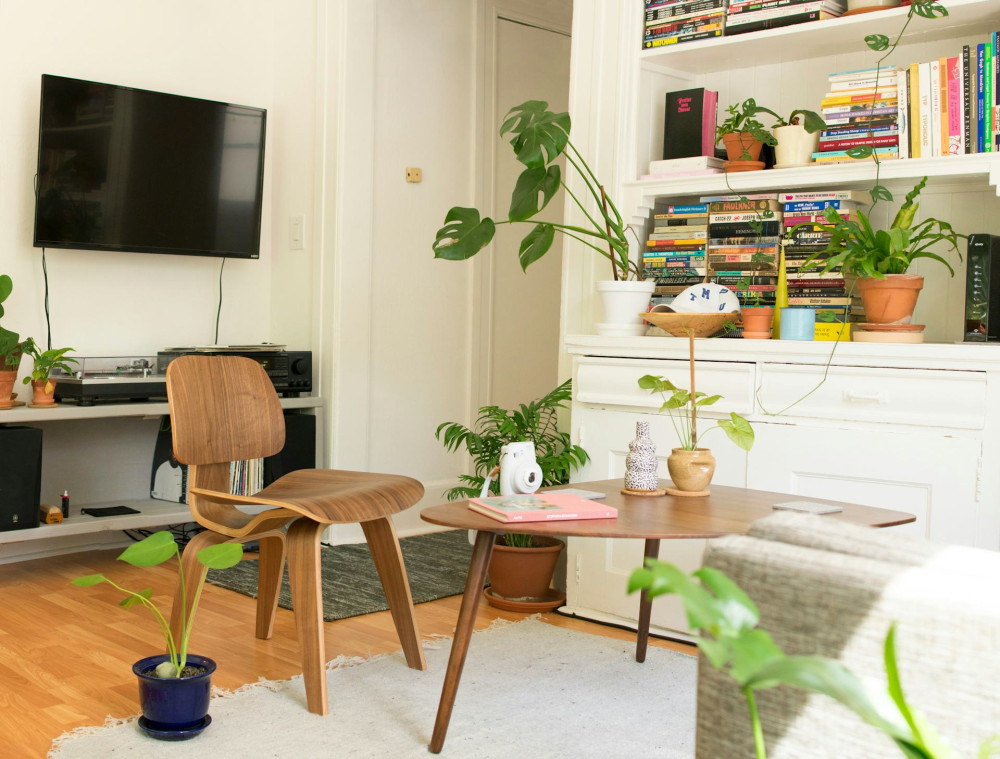
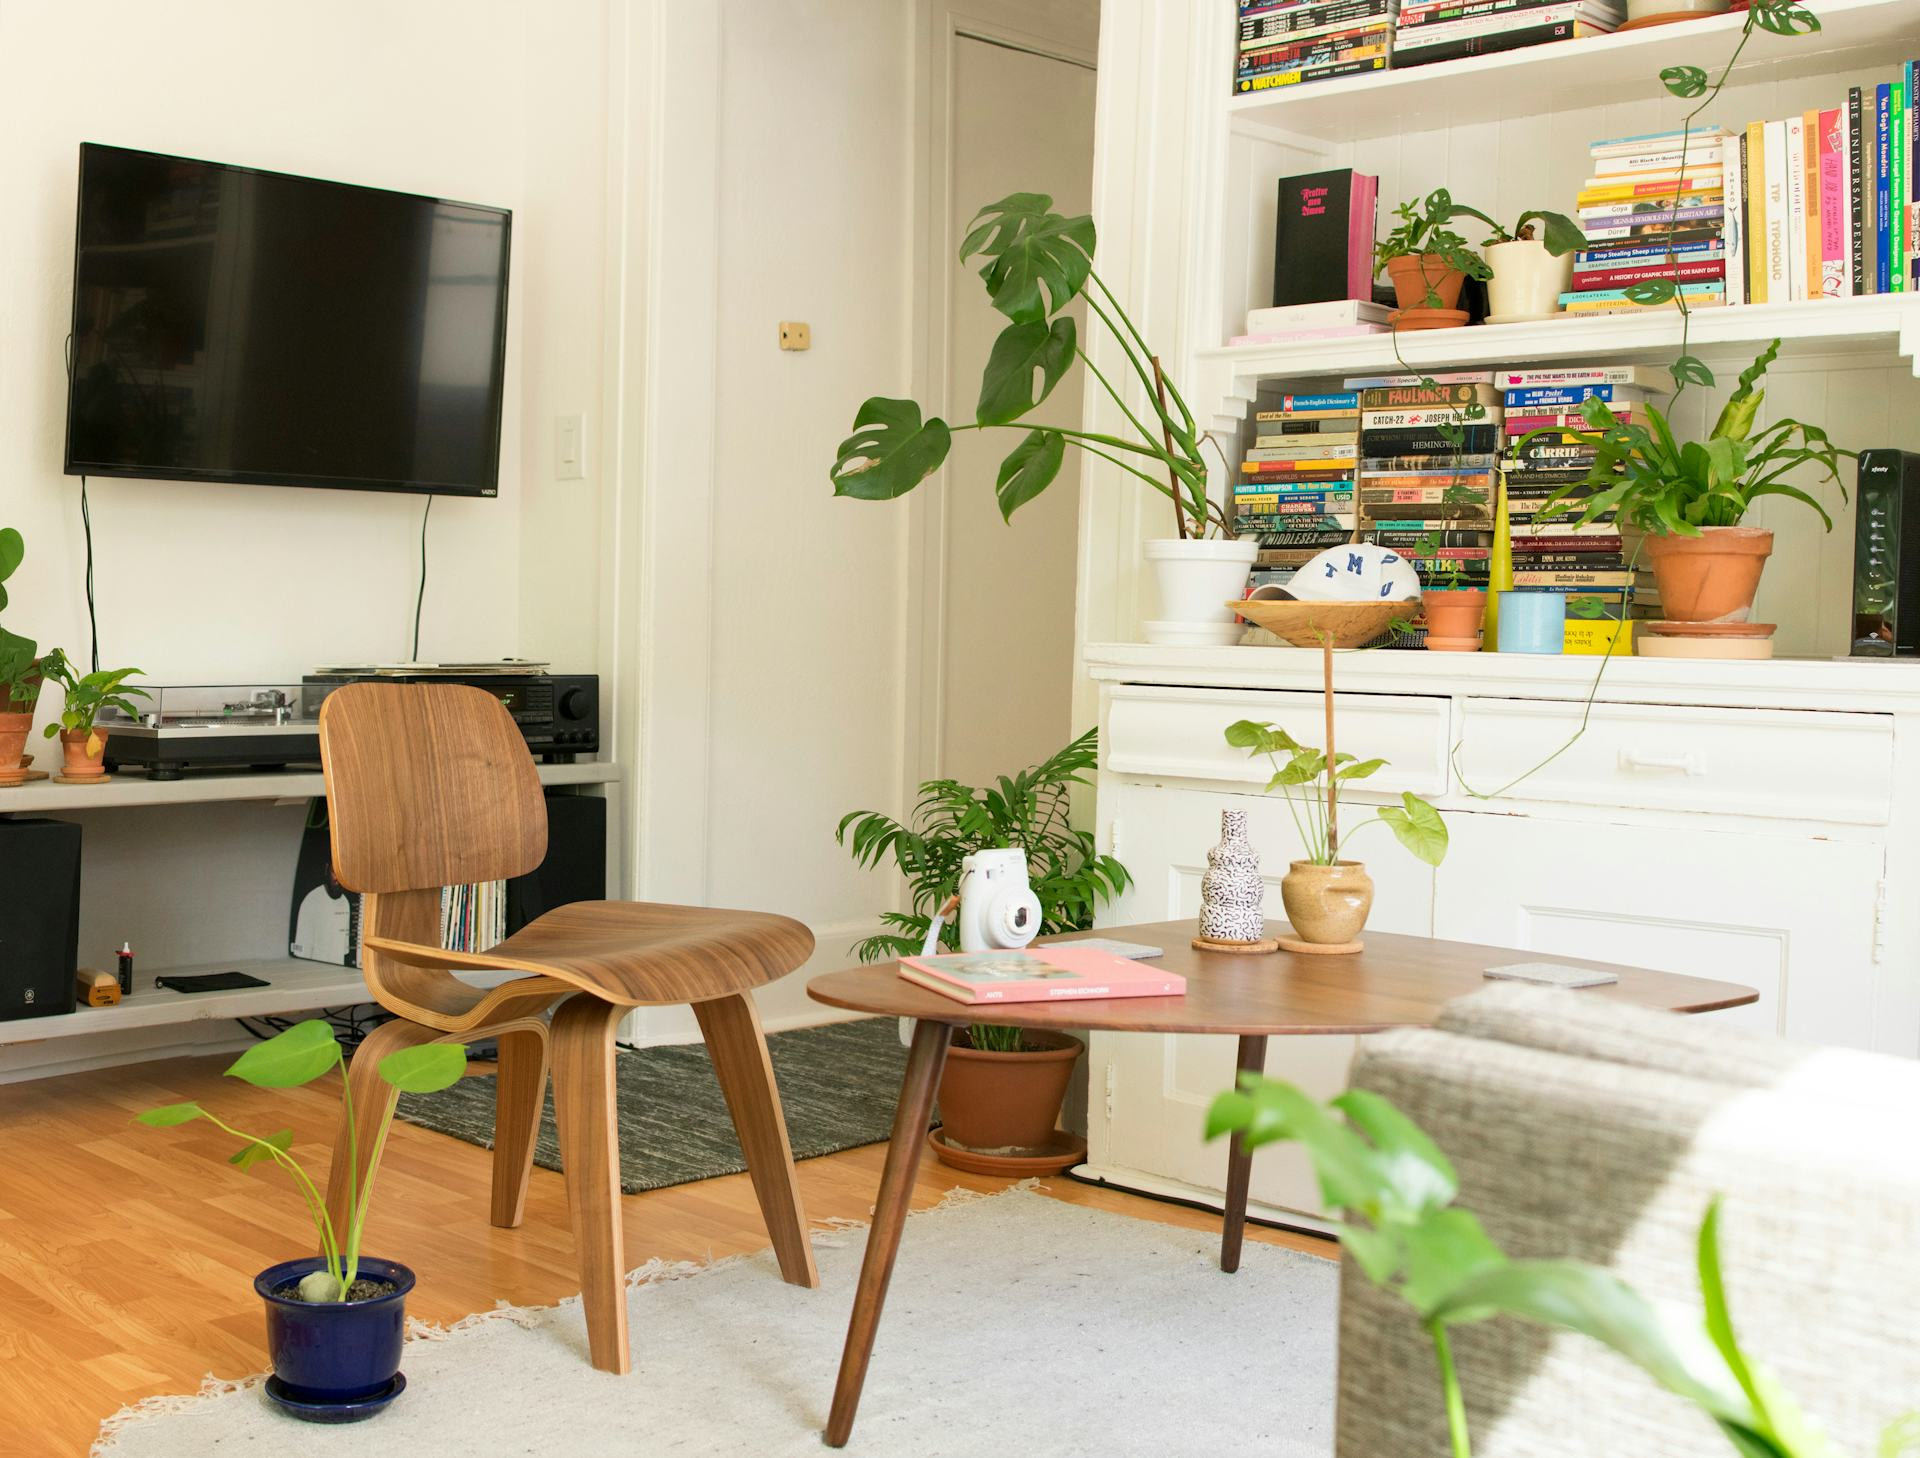
A side table is more than just a practical piece of furniture—it’s a chance to add personality and warmth to your home. Whether you live in a city apartment or a suburban house, a handmade side table can become a one-of-a-kind accent that reflects your style. Here’s how to design and build your own side table with personal touches that make it truly yours.
Start with the Idea – What Should the Table Do?
Before you pick up any tools, think about how you’ll use your side table. Will it sit next to your couch to hold coffee mugs and books? Or will it serve as a nightstand in your bedroom? The purpose determines the size, height, and materials you’ll need.
Sketch a quick design and measure the space where the table will go. This helps you find the right proportions and ensures the table fits comfortably in your room.
Choose Materials with Character
The materials you choose will define the look and feel of your table. You can go for anything from natural wood to metal, stone, or even reclaimed materials—depending on your style.
- Solid wood gives a warm, timeless look. Oak, maple, or walnut are durable choices that age beautifully.
- Plywood or MDF are budget-friendly options that can be painted or veneered for a sleek finish.
- Reclaimed materials like old barn wood, doors, or pallets add rustic charm and sustainability.
- Metal or hairpin legs in steel, brass, or black iron can give your table a modern, airy feel.
Don’t be afraid to mix materials—for example, a wooden top with metal legs—to create contrast and balance.
Add Personal Touches
The details are what make your side table unique. There are countless ways to personalize your design:
- Color or pattern accents: Paint the edges in a bold color or use painter’s tape to create geometric designs.
- Woodburning or engraving: If you’re feeling creative, use a woodburning tool to add patterns, initials, or dates.
- Handles and hardware: A small brass pull or a leather strap can add a refined or rustic touch.
- Finish: Use oil for a natural look, polyurethane for shine and protection, or chalk paint for a matte, vintage vibe.
The key is to make it reflect your personality—not just current trends.
Build It Step by Step
Even if you’re new to DIY projects, a side table is a great place to start. Here’s a simple process to follow:
- Cut the tabletop to your desired size. You can use a circular saw or have it cut at your local hardware store.
- Sand the edges until they’re smooth to the touch.
- Attach the legs. If you’re using pre-made legs, screw them directly into the tabletop. For wooden legs, use corner brackets for extra stability.
- Finish the surface. Apply oil, paint, or varnish in thin layers, letting each coat dry completely.
- Add your details. Install any handles, trim, or decorative elements you’ve chosen.
In just a few hours, you can have a finished table that’s both functional and full of character.
Give It a Story
A handmade piece carries meaning because it tells a story. Maybe you used wood from an old family piece, or perhaps you built it with a friend. Those details make your table more than just furniture—they make it a memory.
You can even sign and date the underside of the tabletop. It’s a small gesture that turns your project into a personal keepsake.
Læs også:

A Small Project with a Big Impact
Building your own side table doesn’t require a workshop or years of experience—just a bit of creativity and a few basic tools. The result is a piece that fits your home perfectly and can’t be found anywhere else. Plus, there’s something deeply satisfying about creating something with your own hands.
So grab your tools, let your imagination run free, and start building. Your next favorite piece of furniture might be just a few boards and a couple of hours away.
Læs også: