Learn to Saw, Sand, and Assemble Wood – Simple DIY Tips for Beginners

Learn to Saw, Sand, and Assemble Wood – Simple DIY Tips for Beginners
Working with wood is both practical and rewarding. You can create anything from small shelves to larger pieces of furniture while gaining a deeper appreciation for the material and the craft behind it. But for beginners, getting started can feel overwhelming—how do you make a straight cut, and what does it mean to sand “with the grain”? Here’s a simple introduction to the basic techniques that will help you start your own DIY woodworking projects with confidence.
Start with the Right Tools
Before you begin, make sure you have a few essential tools. You don’t need a full workshop—just a handful of reliable basics will take you far.
- Saw – a handsaw or a crosscut saw works well for most tasks. A fine‑tooth saw gives clean cuts in thinner boards, while a coarser saw is better for thicker lumber.
- Sandpaper – have a few grits on hand (for example, 80, 120, and 180) so you can start rough and finish smooth.
- Square and tape measure – for accurate measuring and marking.
- Clamps – to hold your pieces steady while cutting or gluing.
- Drill and screwdriver – for assembling parts without splitting the wood.
Once you’re comfortable with the basics, you can gradually add more specialized tools like a miter saw, orbital sander, or pocket‑hole jig.
How to Saw Straight and Safely
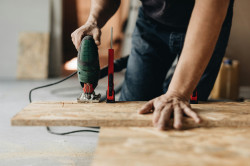
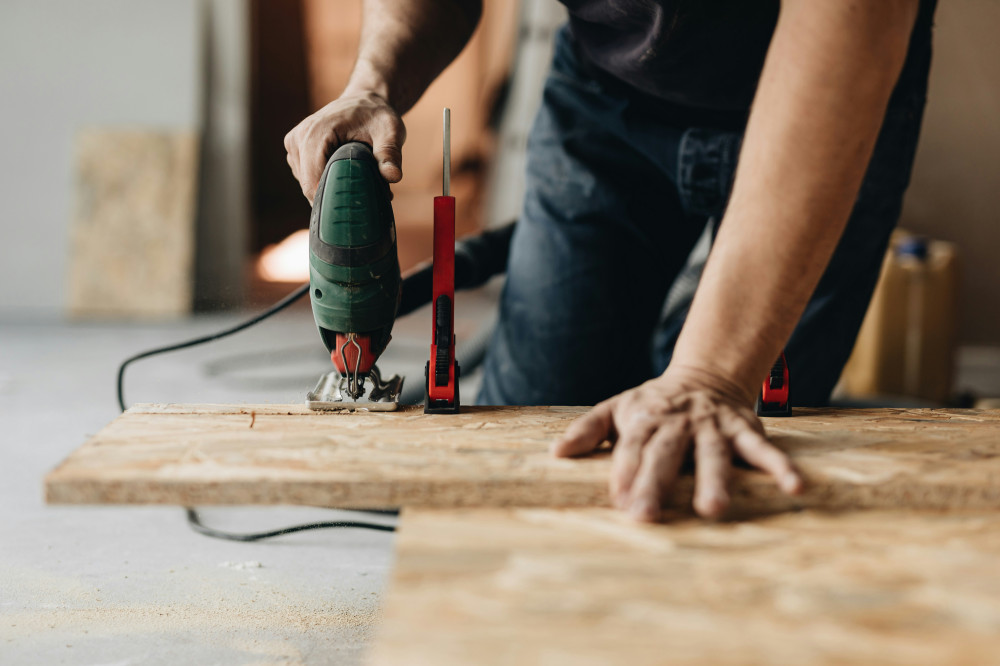
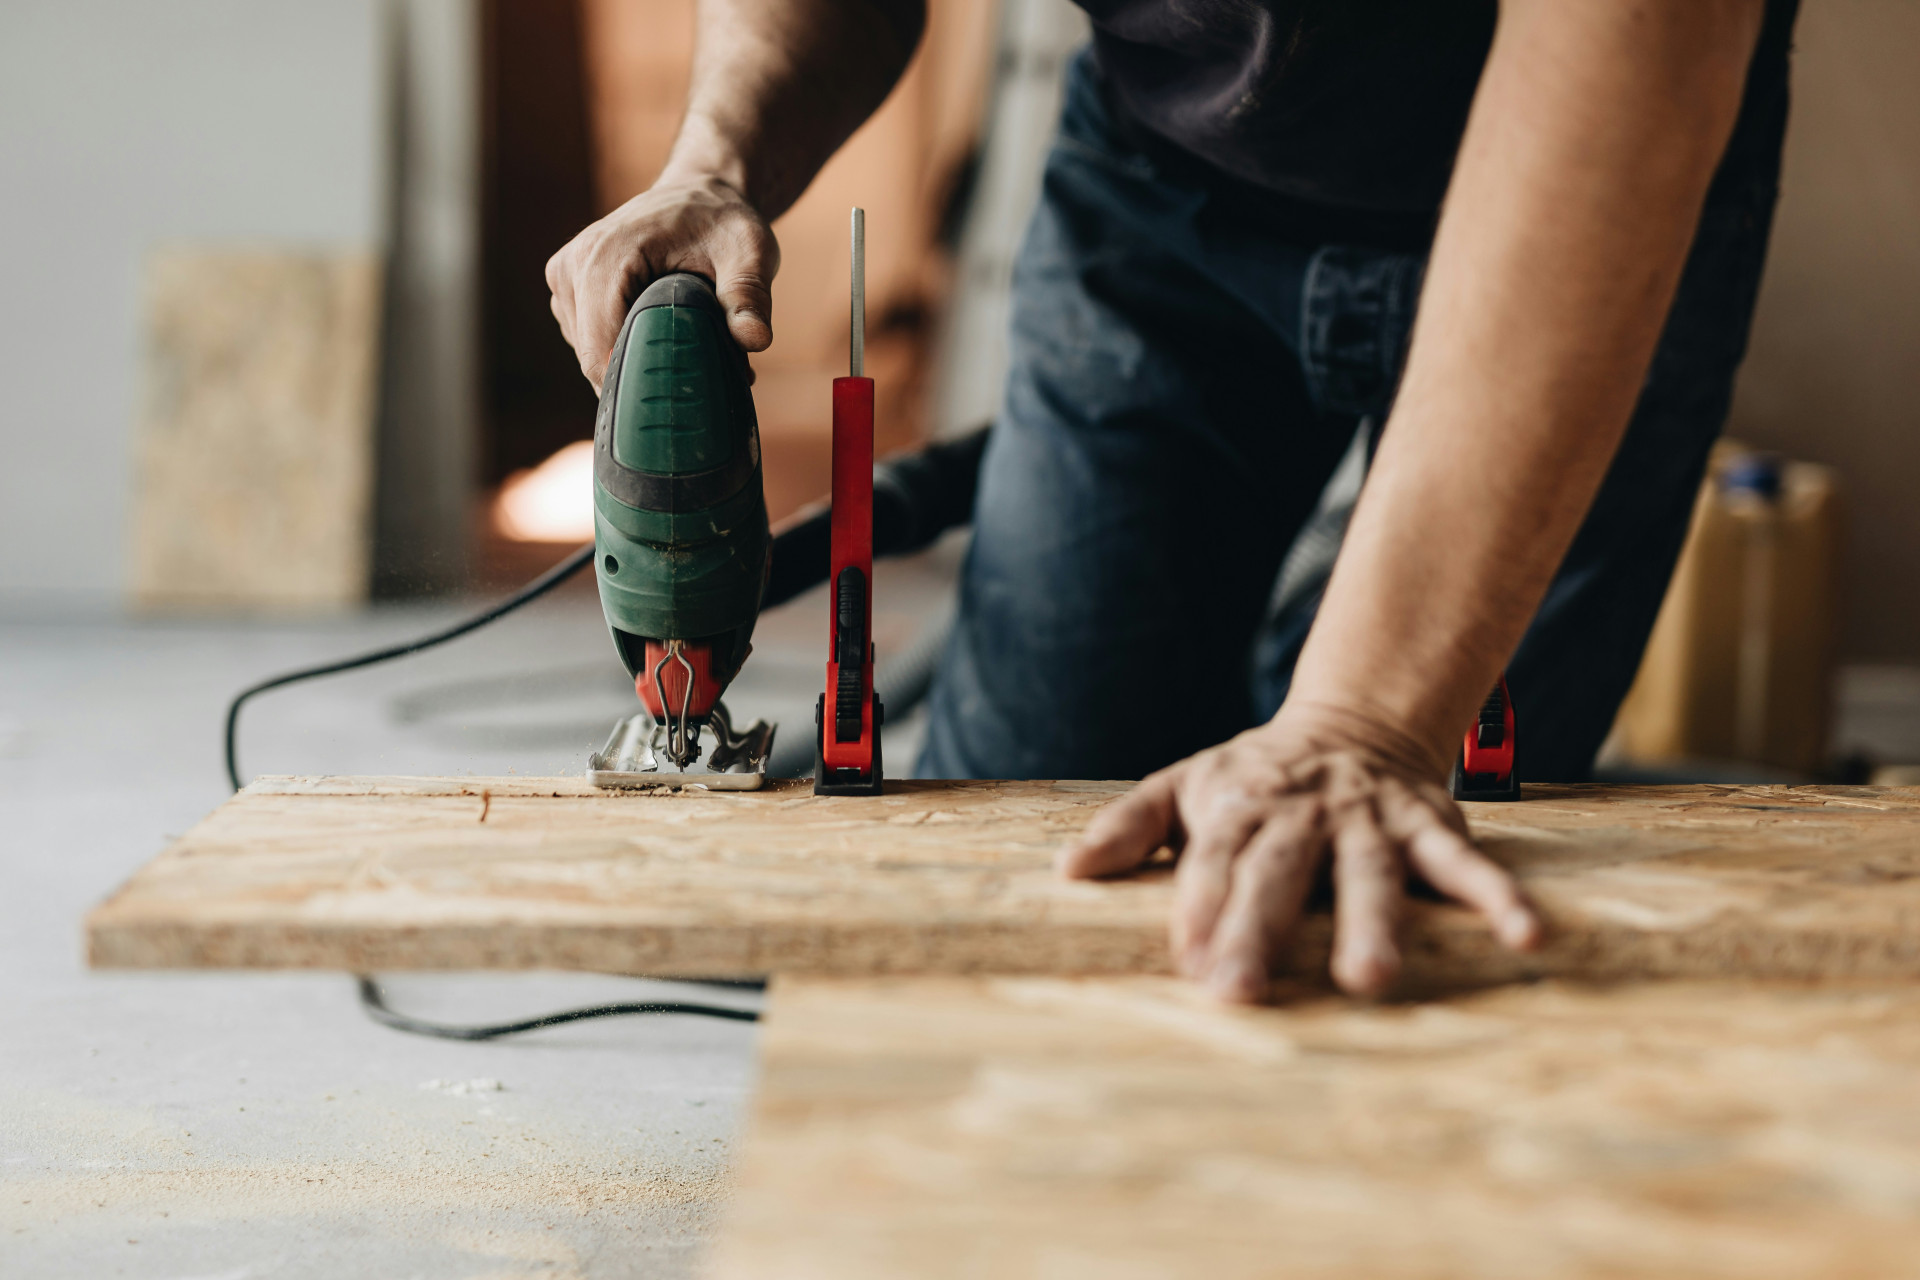
Good sawing technique is all about preparation and control. Start by marking your cut line clearly with a pencil and square. Secure the board with clamps so it doesn’t move.
Hold the saw at a steady angle and let the teeth do the work—don’t force it. Begin with short, gentle strokes to create a groove, then continue with longer, even motions. If you rush, the cut may wander or splinter.
A great way to build confidence is to practice on a scrap piece first. You’ll get a feel for how the saw moves and how to guide it accurately.
Sanding – The Key to a Smooth Finish
Sanding is often underestimated, but it’s what makes your project look polished and professional. Start with coarse sandpaper (around 80 grit) to remove rough spots, then move to finer grits (120–180) for a smooth surface.
Always sand with the grain—in the same direction as the wood fibers. Sanding across the grain can leave scratches that become visible when you apply stain or finish.
Use a sanding block or power sander for large surfaces, and fold the paper around your fingers for edges and corners. Wipe away dust between each sanding step with a damp cloth or vacuum.
Assembling – Making It All Hold Together
When it’s time to join your pieces, there are many methods, but for beginners, screws and wood glue are the easiest and most reliable.
- Pre‑drill holes – especially near the ends of boards, to prevent splitting.
- Apply wood glue – a thin layer between surfaces adds strength. Wipe off any excess right away.
- Drive screws carefully – use a low drill speed to avoid stripping the screw head or damaging the wood.
As you gain experience, you can try simple joinery techniques like dowels, pocket holes, or corner brackets for a cleaner, sturdier result.
Finishing – Protect and Highlight the Wood
Once your project is assembled and sanded, it’s time to protect the surface and bring out the wood’s natural beauty.
- Oil gives a warm, matte look and is easy to maintain.
- Polyurethane or varnish provides a durable, glossy finish that resists wear.
- Paint offers full coverage and a modern style.
Apply thin coats and let each one dry completely before adding the next. Always test your finish on a scrap piece first to see how the color and sheen will turn out.
Læs også:
Simple Projects to Build Your Skills
If you’re new to woodworking, start with small, manageable projects that let you practice the basics. Try making:
- A floating shelf for your living room.
- A planter box for your patio or balcony.
- A cutting board from solid hardwood.
These projects require only a few materials and give you a chance to practice cutting, sanding, and assembling without too much complexity.
Patience and Precision Pay Off
Woodworking is as much about patience as it is about skill. Take your time to measure, mark, and double‑check before you cut or drill. It might feel slow at first, but careful preparation saves you from mistakes later.
Once you experience the satisfaction of creating something with your own hands—and see your project take shape—you’ll understand why woodworking is such a beloved hobby.
So grab your saw, roll up your sleeves, and start small. With a bit of practice and the right techniques, you’ll soon be building something you can be proud of.
Læs også: