Stucco Finishing: How to Choose the Right Materials and Tools

Stucco Finishing: How to Choose the Right Materials and Tools
A well-finished stucco exterior not only gives your home a clean, cohesive look—it also protects the structure from moisture, heat, and weather damage. But achieving a durable and attractive finish depends on choosing the right materials and tools for the job. Whether you’re patching small cracks or applying a new stucco coat from scratch, this guide will help you get started with confidence.
Assess the Condition of the Surface
Before you begin, take time to inspect the wall you’ll be working on. Stucco can’t hide underlying issues—if there are cracks, loose areas, or moisture problems, they need to be repaired first. Applying new stucco over damaged or damp surfaces can lead to peeling or further deterioration.
- Concrete or masonry walls: Make sure the surface is solid and free of dust, oil, or paint.
- Wood-frame walls: Check that the lath and weather barrier are intact and properly installed.
- Existing stucco: Remove any loose or crumbling material and clean the surface thoroughly.
A clean, stable base ensures that the new stucco adheres properly and lasts for years.
Choosing the Right Type of Stucco
There are several types of stucco mixes available, and the best choice depends on your wall type, climate, and desired finish.
- Traditional cement stucco – A mix of Portland cement, sand, and lime. It’s strong and durable, ideal for most exterior applications, but less flexible and prone to cracking if the substrate moves.
- Acrylic stucco – A modern, polymer-based finish that offers flexibility and a wide range of colors. It’s more resistant to cracking and fading, making it popular in areas with extreme temperature changes.
- EIFS (Exterior Insulation and Finish System) – A multi-layered system that includes insulation and a synthetic finish coat. It provides excellent energy efficiency but requires professional installation.
- Lime-based stucco – Breathable and ideal for historic restorations, though it requires more maintenance and longer curing times.
If you plan to paint the stucco later, choose a breathable, exterior-grade paint designed for masonry surfaces. Some acrylic finishes come pre-tinted, eliminating the need for painting altogether.
Essential Tools for Stucco Work
The right tools make all the difference in achieving a smooth, even finish. Here are the essentials:
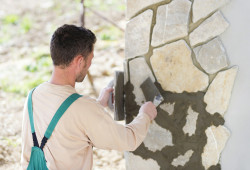
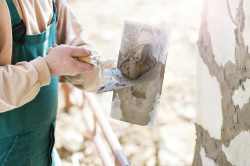
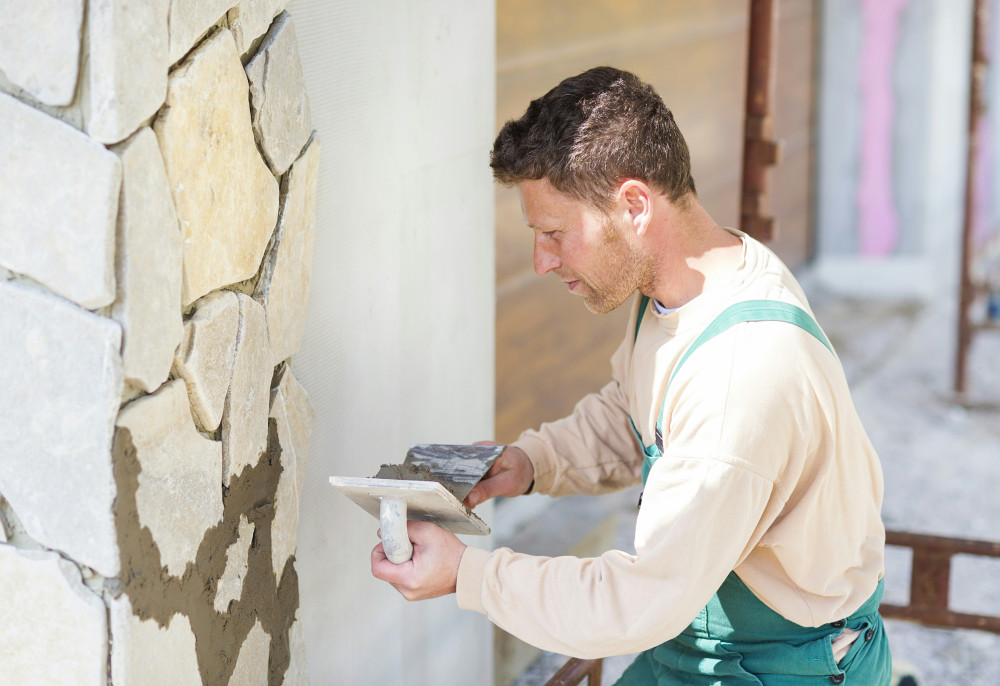
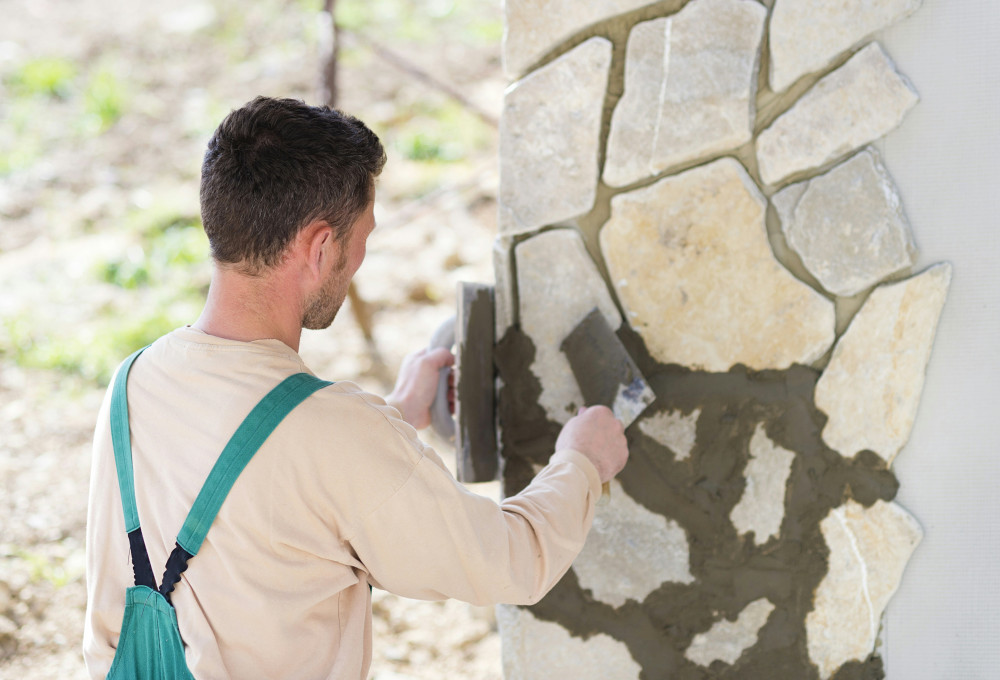
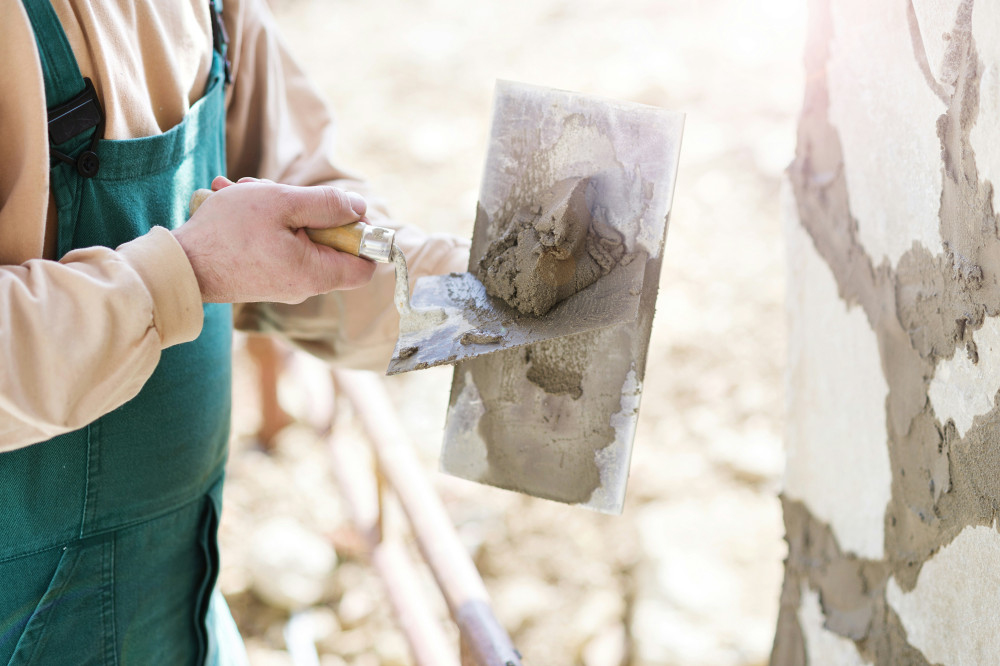
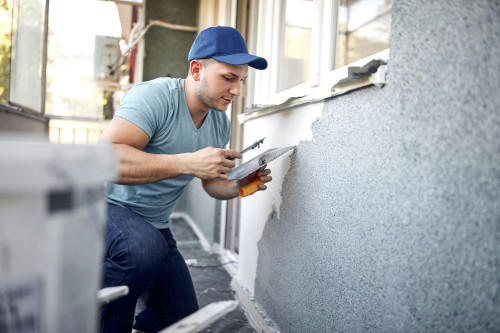
- Hawk and trowel – For applying and spreading stucco evenly.
- Mixing paddle and drill or mortar mixer – To blend the stucco to a consistent texture.
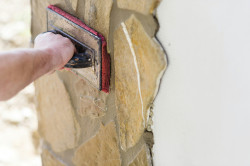
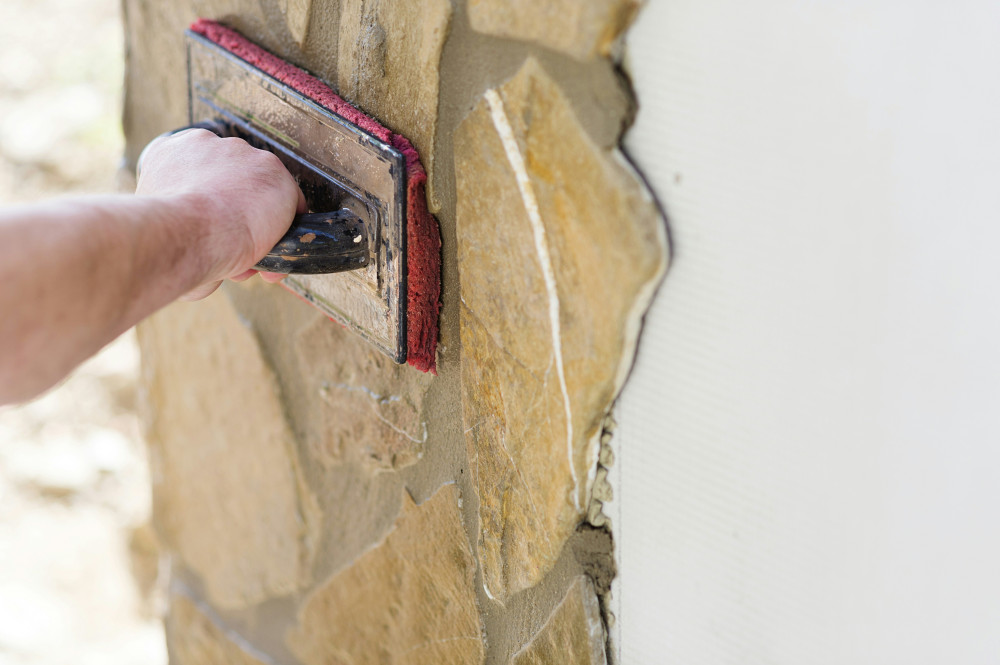
- Float (foam, wood, or sponge) – For texturing and smoothing the surface.
- Corner and edge tools – To create clean, sharp lines around windows and doors.
- Lath and fasteners – For securing stucco to wood-frame walls.
- Scaffolding or sturdy ladder – To reach higher areas safely.
Always wear gloves, safety glasses, and a dust mask when mixing or applying stucco, as cement-based materials can irritate skin and lungs.
Building Up the Stucco Layers
A proper stucco finish is built in layers, each serving a specific purpose:
- Scratch coat – The first layer, applied about 3/8 inch thick, is scored with horizontal lines to help the next layer bond.
- Brown coat – The second layer, about 3/8 inch thick, levels the surface and provides strength. Allow it to cure for several days.
- Finish coat – The final layer, thinner and smoother, determines the texture and appearance. It can be troweled smooth, floated for a sand finish, or textured for a more rustic look.
Keep the surface slightly damp between coats to prevent rapid drying, which can cause cracking. Avoid working in direct sunlight or high winds, as these conditions can make the stucco dry too quickly.
Common Mistakes to Avoid
Even small errors can affect the durability and appearance of your stucco. Watch out for these common pitfalls:
- Applying layers too thickly – Leads to cracking as the material dries.
- Skipping curing time – Each coat needs time to set before the next is applied.
- Poor surface preparation – Dirt, paint, or loose material can prevent proper adhesion.
- Incorrect mix ratio – Too much water weakens the stucco; too little makes it hard to spread.
- Ignoring weather conditions – Rain or freezing temperatures can ruin fresh stucco.
Patience and attention to detail are key to a long-lasting finish.
Læs også:

Finishing Touches and Maintenance
Once the stucco has cured completely, you can paint or seal it if desired. Use breathable coatings that allow moisture to escape, preventing trapped water from damaging the wall. Regularly inspect your stucco for cracks or chips, especially after heavy rain or freezing weather. Small repairs made early will prevent larger, more costly issues later.
A Project Worth the Effort
Applying stucco is a project that rewards careful preparation and steady workmanship. With the right materials, tools, and techniques, you can create a finish that enhances your home’s appearance and protects it from the elements for decades to come. Whether you’re a DIY enthusiast or working alongside a contractor, understanding the basics of stucco finishing ensures a result you’ll be proud of.
Læs også: